Monday 31 December 2012

MERRY CHRISTMAS AND A BLESSED NEW YEAR!

Photobucket

So its the last day of 2012 and I thought I'd drop by and say Merry Christmas and a Blessed New Year! I hope Christmas was well spent with your family and friends.

December turned out to be quite a busy month. I was involved in my church's youth camp and there was quite a lot of game planning to be done for that. In addition, I'm doing a bit of game planning for tonight's church youth countdown as well! Though I didn't have time to work on the crafts and posts I planned to (sorry), I did take away one skill from this whole experience. I learnt a whole lot about video editing using final cut pro. (We used videos in our games.) It doesn't seem so daunting anymore! It's actually getting pretty fun, and I had the urge to make videos when I wasn't required to, maybe I'll share the one I did for tonight another day.

As we countdown to the new year, let's make new goals and resolutions for 2013 from the lessons we drew from 2012. And thank God for the blessings past and those to come ahead. :) Eunice


Monday 17 December 2012

DIY LITTLE BUTTON MAN NECKLACE

Photobucket

Christmas is coming up! And its coming up real fast I must say. I haven't even done any Christmas shopping yet! I'm in trouble! 

Today I bring you a little gift idea (that can be done in about half an hour) thats cute for your bunch of girlfriends or your nieces and daughters. I came across the idea of making little hat men with buttons in a book about button crafts in the library a long while back (sorry that I can't remember the title). Their button men were much taller and required a lot more buttons, so I modified it to make it shorter and into a necklace. You can change it up any way you want really.

So let's start! These are the things you will need for this project. You can vary the number of buttons you need for the different parts according to how you would like him to look. But here's a rough gauge:

Photobucket

Okay before we move on to step 1, here's a quick tip that will save you a heap of time and frustration. Apply clear nail polish to all four ends of the waxed strings. This will make the stringing process much less detestable, trust me. ;)
Done? Let's start! :)


Photobucket

1. We're going to start stringing it from the bottom up, starting with the feet! You want the 'middle' loop to be at this button, this is where the string bends! 
2. With the two ends of the string, string the rest of the leg.
3. Repeat with the other string to get the other leg! (They are currently two separate parts)
4. Now we want to join them to the body, but you have 4 ends, so the two ends of one string go into one button hole, and the two ends of the other string go into the other button hole.
5. Do this for all the body buttons until there is one left. Before that last body button, we want to string the arms. For each string, one end will form the arm and the other will be used to continue upwards. 
6. After stringing the buttons, tie a knot the end of each arm STRING and push the buttons towards the knot. Pull and adjust the excess arm string(from the loop at the feet) such that arm buttons start of right at the body buttons, and the excess string should be pulled to lengthen the other free end. (Do not tie a knot right after stringing the buttons and cut the excess off. You will get a really short necklace.)
7. Add the last body button!
8. Add the neck and head.
9. Top him off with his hat. (Glad to have found the cute flower button!)
10. Tie a knot right above his hat to keep the buttons in place, and tie another knot at the end of your string to complete the necklace. Cut off excess string if you wish to adjust the length or if there is a difference in length between the two ends.

AND YOU'RE DONE! YAY!


Photobucket

Photobucket

It's really pretty simple but I hope I was clear enough and didn't confuse you instead! If you do make variations of this, leave me links or pictures! I would love to see what you come up with! :) Eunice


Wednesday 12 December 2012

CARVE, PRINT & WRAP

Photobucket

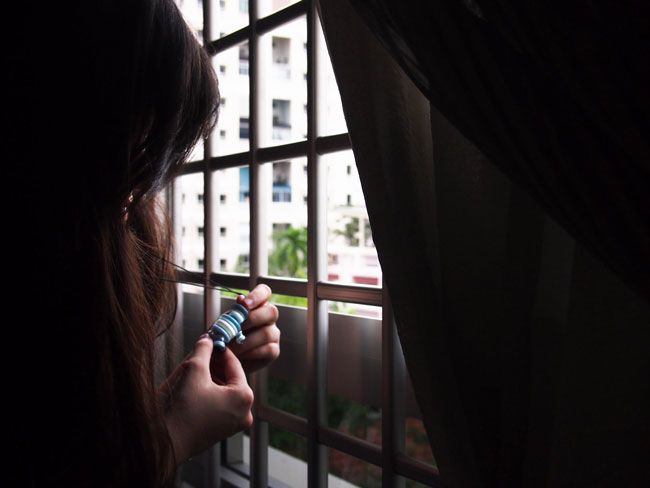
So I was really excited to finally be able to attend one of Handmade Movement Singapore's craft parties - Carve, Print, & Wrap! The stamp carving lesson was taught by the two sisters of Fictive Fingers, one of whom was my netball senior in Crescent, which was how I got to know more about their work. Their ability to carve precise and detailed stamp designs is intriguing and I've have been admiring their work for quite a while, so I'm glad that THIS is the class that was to be held during my school holidays. Hooray!
(Sorry that I don't have much photos of the class itself, I brought my camera along but didn't get the chance to use it. Besides I think there was an official photographer there so I'll wait for those pictures to come out! You can check out some snapshots on HMSG's Facebook page though! Link given below.)


Photobucket

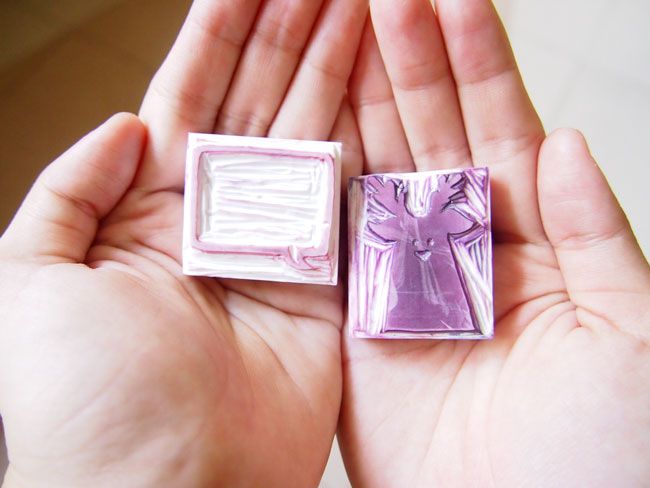
These were the two stamps I carved! The reindeer was from one of the templates that were provided. The option to create my own design was offered but knowing myself I would've taken half an hour deciding, and besides the reindeer was too cute to resist! (credits to Aisah for the super cute reindeer!) 
As for the other half of the rubber block, I decided to draw a speech bubble, cause it can be used wherever and whenever!
We were given wrapping paper, paper bags, and stickers to print on during the class. The huge piece of wrapping paper was really intimidating, especially with my really small stamp, but they persuaded me and I completed it! :)
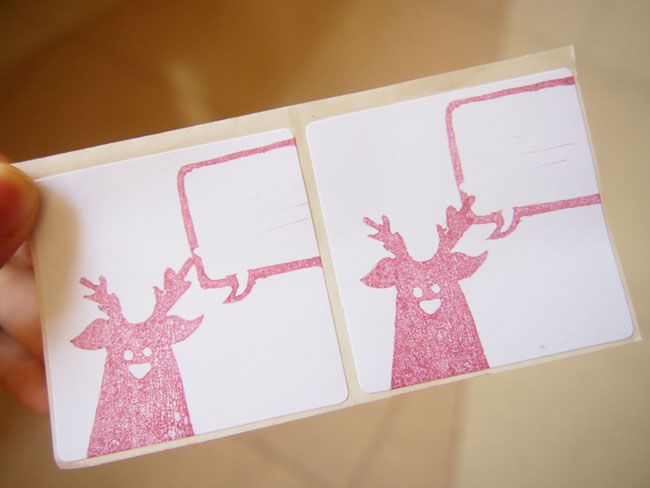
Photobucket
Name labels! ;)

Photobucket
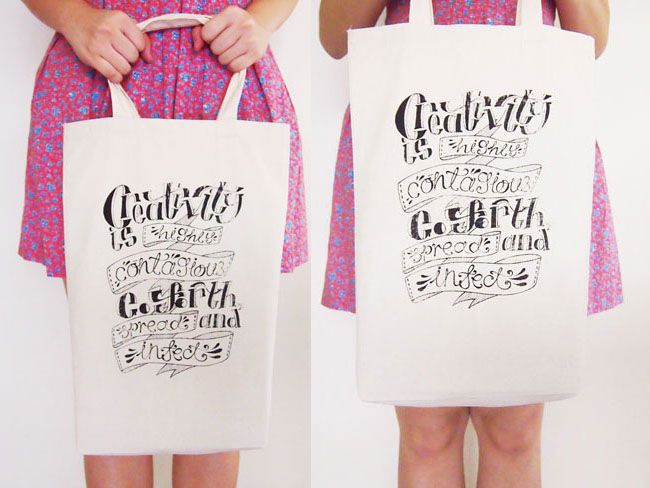
My DIY silkscreened tote bag.
Had my turn at the silkscreen booth yesterday! I've always wanted to try silkscreening, but it isn't as easy as I thought. (Notice all the faded patches here and there?) Nonetheless still loving it!! Loving the quote as well.

Photobucket
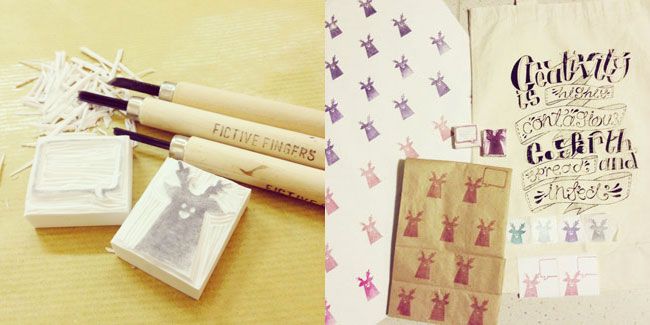
Instagram shots of carving during class and all the items made.

Photobucket
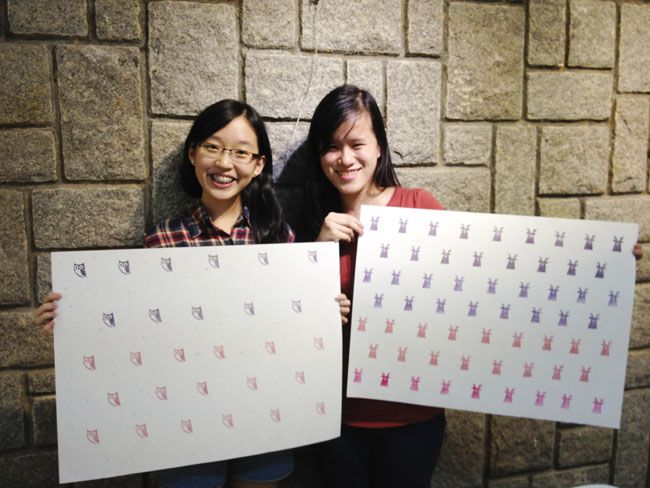
I attended the class with Michelle, and I think it really made a difference. It would have been pretty awkward if I went by myself like initially planned so thanks Michelle!! Had a wonderful time getting drenched in the rain with you, I would've been really mad if I had to walk in the storm by myself. Hahaha

All in all I had a wonderful time at the craft party, so its quite sad that this was the last one for the year. But I'm really looking forward to the main event: the craft fair on the 19th of January! Eunice :)

Guys, if you want to find out more about Handmade Movement Singapore check them out on Facebook or their website. Same for Fictive Fingers: Facebook and Website. ^^